Visual Installation Guide
To make a shim, mark the pack of shim material with a pen a litte wider than the bearing.
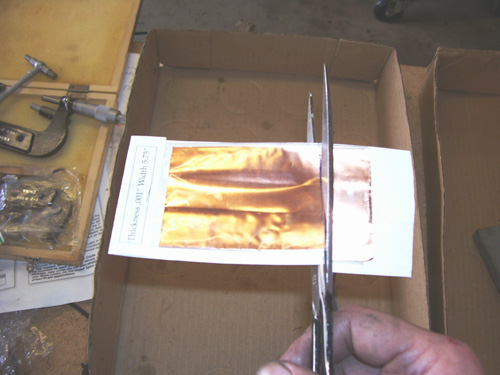
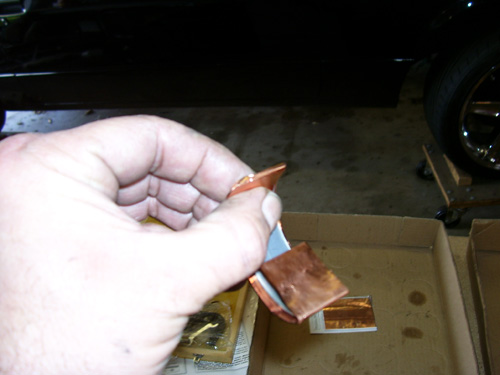
Cut through the plastic sleeve, shim stock and backer card with sharp scissors.
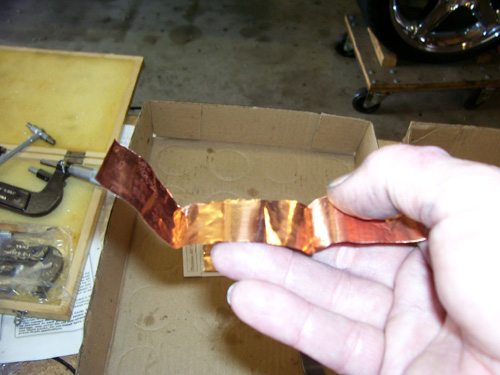
Carefully unfold shim stock and pinch creases flat between fingers.
You can see and feel that the middle part of the shim is thicker and has a pronounced step.
The thicker part is to be centered at the midpoint of the bearing
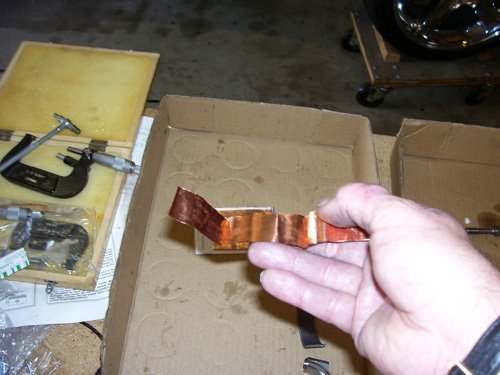
Flattened shim with raised middle (about a 1” wide section that has a step appearance).
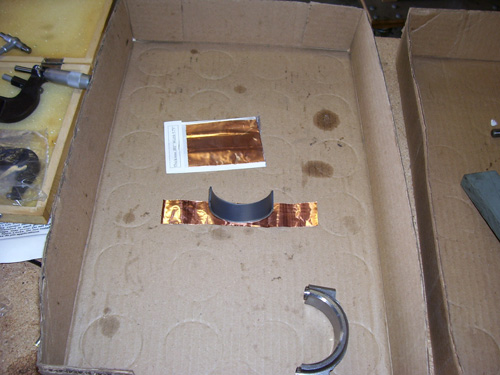
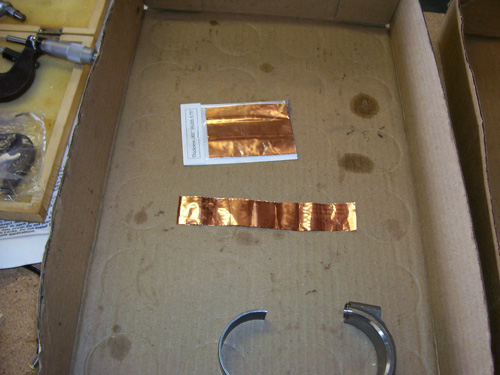
Shim centered on bearing. Note shim is wider and longer than the bearing.
This will be trimmed off after assembly to the bearing cap
Fold ends of shim back over bearing. Gently squeeze shim to take contour of bearing tab on outside.
This will help with alignment on the cap.
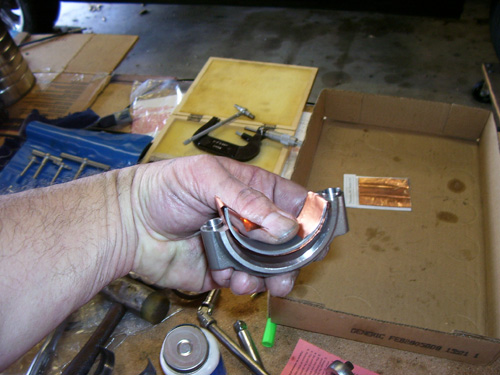
Gently rock bearing wrapped with shim into the bearing cap
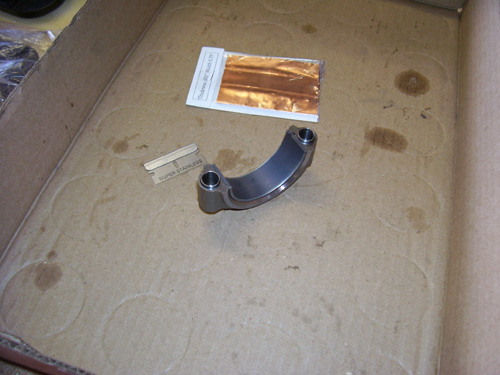
Bearing installed in cap with excess shim trimmed off with safety razor blade.
No visible step between bearings when assembled.
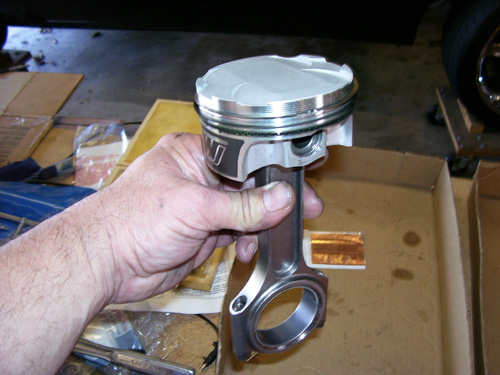
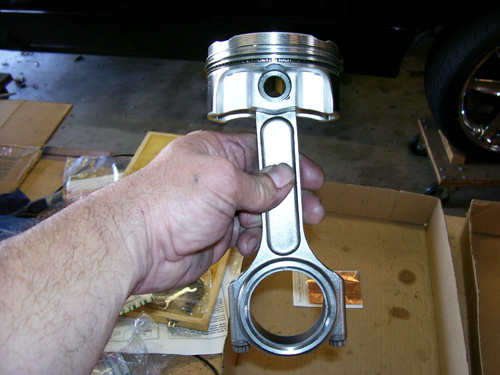
New rod with resized bearing ready for installation.
This is custom piston / forged rod combo for a late model Modular Ford.